Configure a vCard
This guide covers how to set up a vCard for a campaign, including CLI configuration, vCard settings, and the pre-flight checklist. For an overview of what vCards are and how they work, see vCards.
You must be using the Evergiving Call Center for welcome or verification calling to use this feature.
Set Up the CLI
At least one CLI must be assigned to the campaign before you can create or preview a vCard. Go to Account > CLI Management to configure a CLI for the campaign.
Warning
Once a CLI is linked to a vCard, it is locked for editing permanently. vCards are stored as static files on user phones and cannot be updated without user intervention.
Open vCard Settings
Go to Campaigns > Overview, then open the campaign and select General Settings.
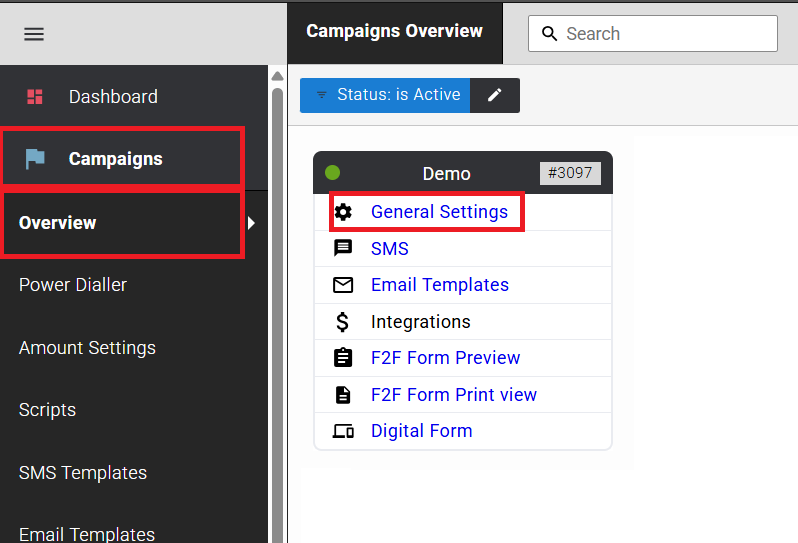
Scroll down to the vCard Settings section.
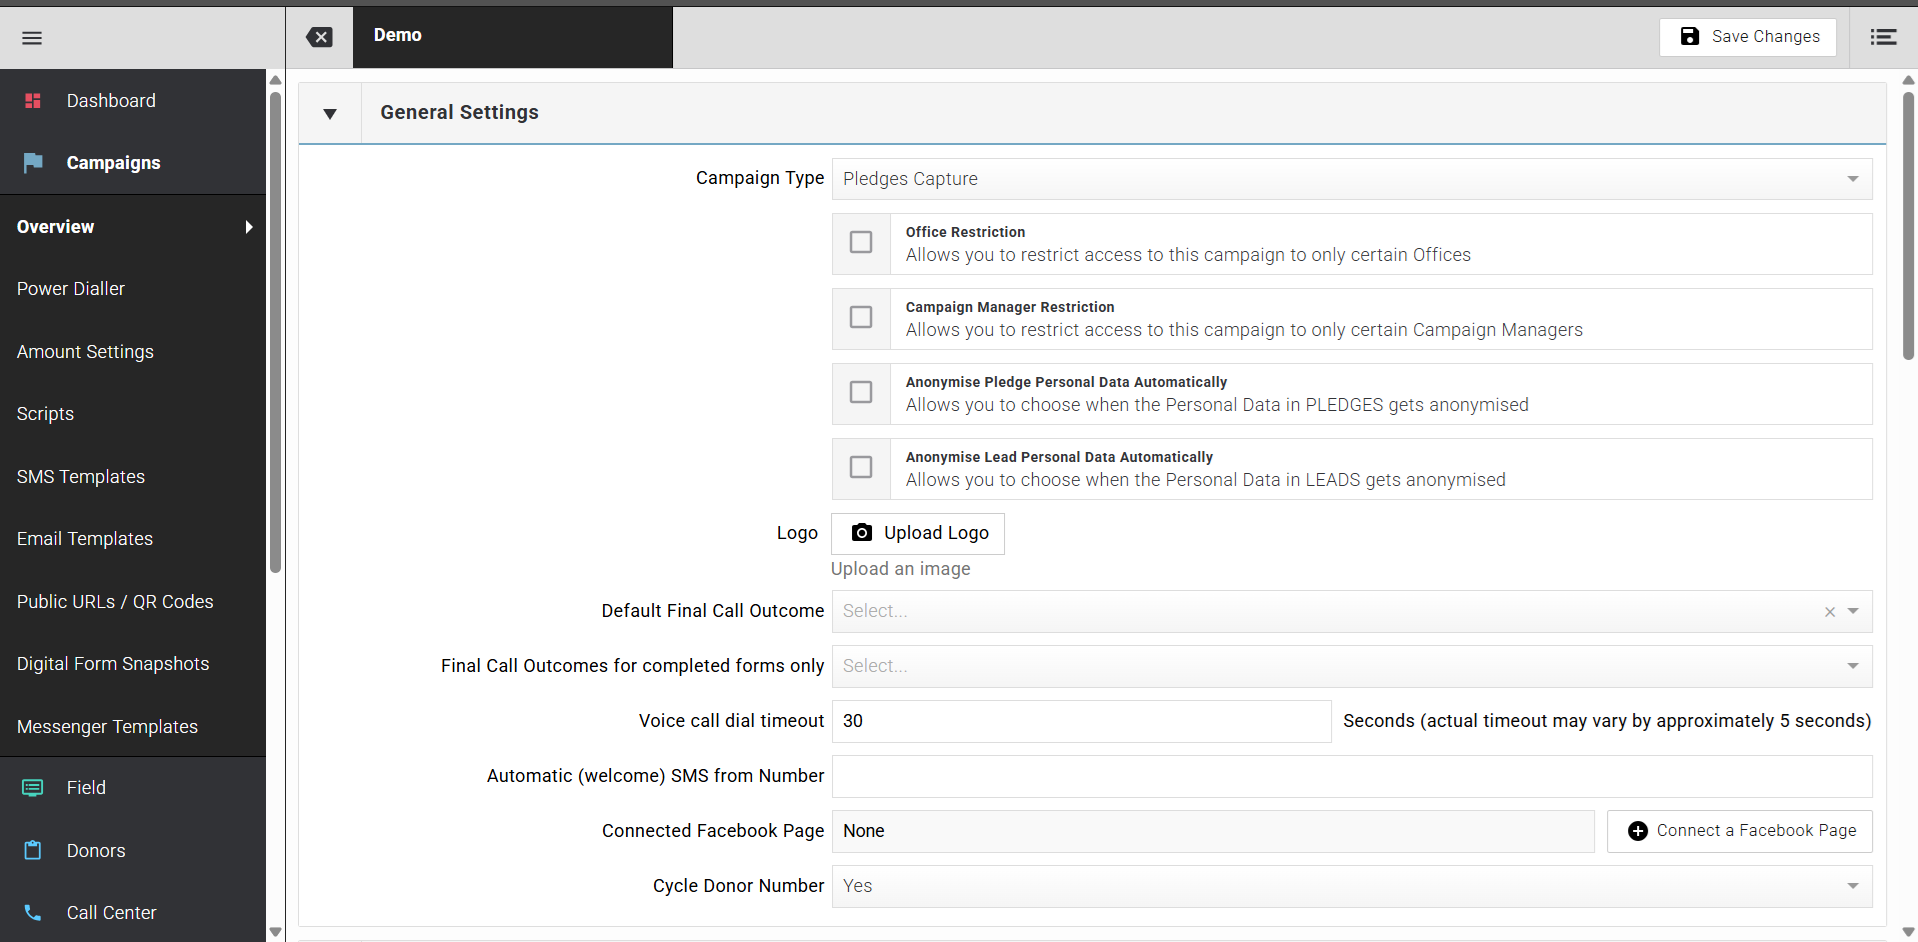
Configure the vCard
- Check Enable vCard. The vCard file will be automatically generated on save.
- Enter the Charity name.
- Upload a Logo. This is the image that appears when the donor's phone displays the contact.
- Fill in the address fields: Street address, City, State/Province, ZIP/Postal code, Country.
- Enter a Charity phone label and Charity phone number for the charity's main contact number.
Tip
Do you have a brand ambassador or a face that is familiar to your donors? Using a person's image instead of your logo will be more aligned to the experience the donor has when a contact in their phone calls them.
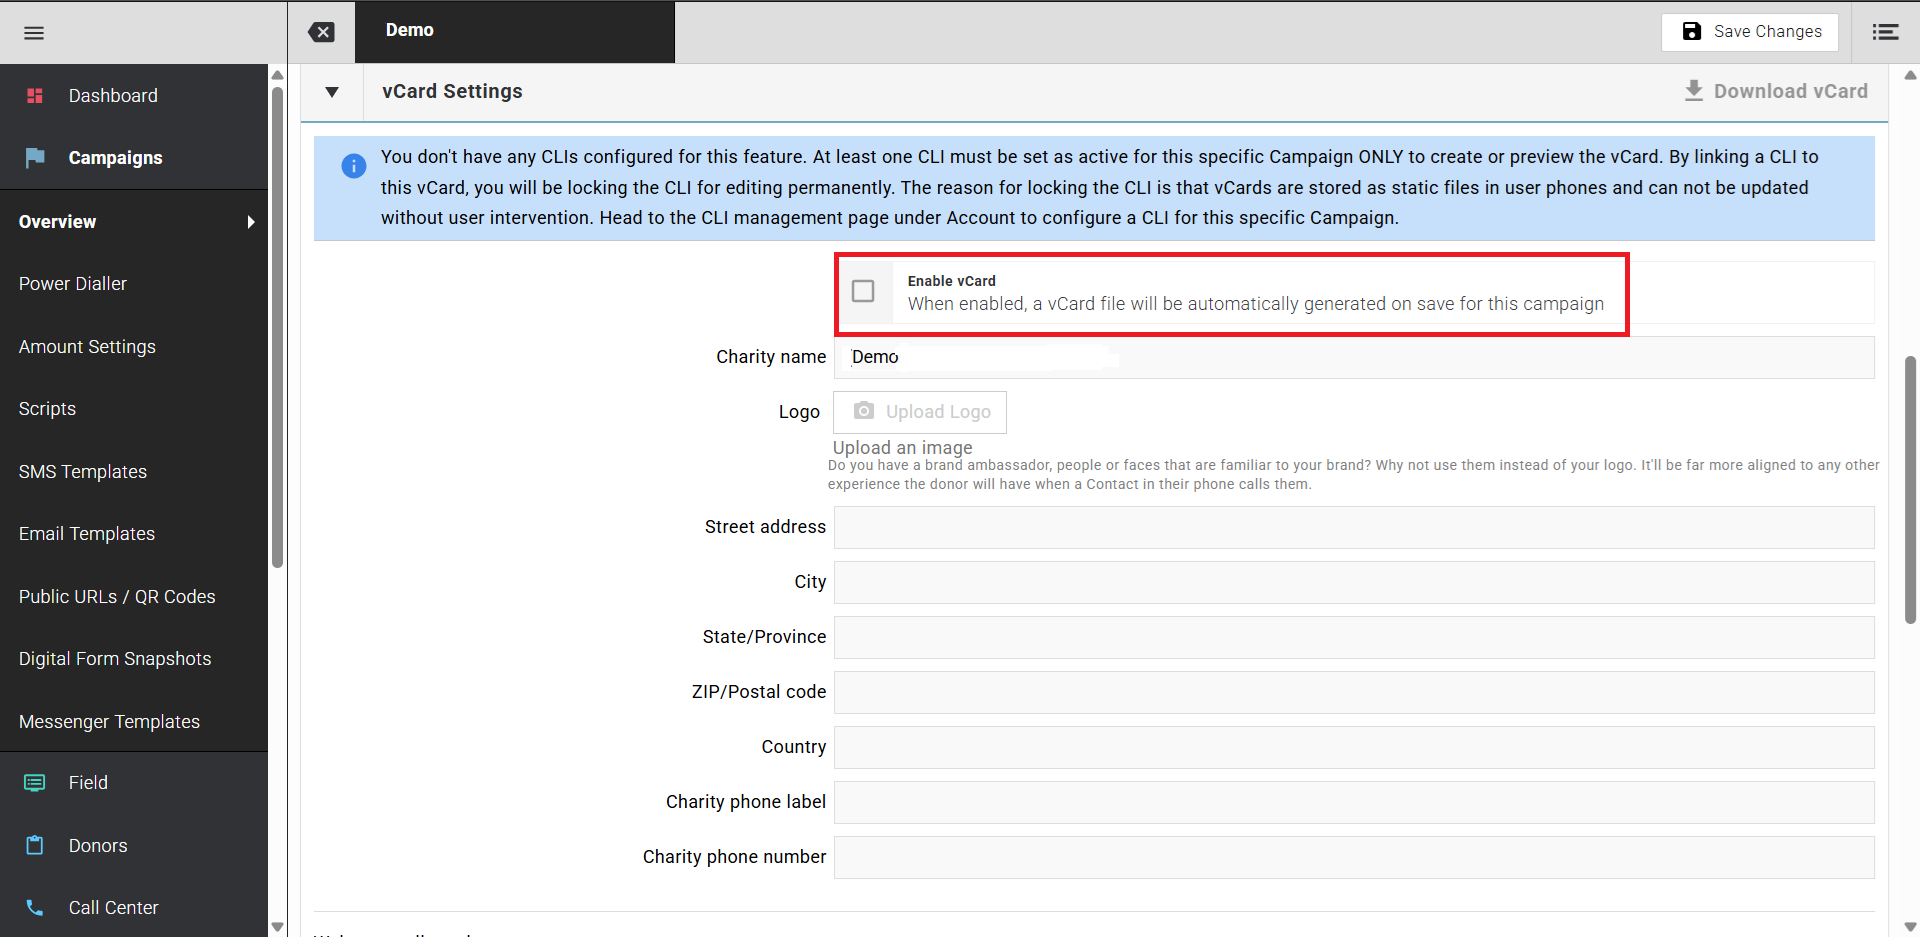
Add Welcome Call Numbers
Scroll down to the Welcome call numbers section.
For each number you want to include in the vCard:
- Enter a Label (for example, `Welcome call`).
- Select the Phone number (CLI) from the dropdown. Only CLIs linked to this campaign appear in the list.
Up to five label and CLI pairs can be configured. You can also add an Email address, Website, and a Note. The Instructions field contains the text shown to the donor when they open the vCard, telling them how to save the contact on iPhone and Android.
- Select Save Changes. The vCard file is generated automatically.
To download the vCard for testing, select Download vCard at the top right of the vCard Settings panel.
Pre-Flight Checklist
To get the best results from this feature:
- Use a fresh CLI so it starts with a clean reputation. Contact support@evergiving.com if you need a new one.
- Assign only the welcome call CLI to the campaign and un-assign all other CLIs from it.
- Assign only one campaign to that CLI so that inbound calls are routed correctly.
- Set up a branded Donor Comms SMS to send on no-answer, so donors know who called and why.
- Set Allow Inbound Calls to Yes on the team performing the calls.
- Add a Voice Mail Greeting to the campaign so unanswered inbound calls stay on brand.
- Periodically listen to voicemails and return calls as appropriate. Admin Agent users can do this too.
- Set Final Call Outcomes for Inbound Call Diversion and a Phone number for Inbound Call Diversion in Campaign General Settings, so inbound calls divert to the charity's supporter care line after welcome calling ends.
- Set the Acceptable Calling Period, Time between call attempts, and Max call attempts in Campaign General Settings.
Tip
It takes time for fundraisers to adopt a new process. Incentivising early adoption — for example with a competition — and monitoring uptake with a question on the welcome call ("did I show up on your phone?") can help.
Warning
Some phones require a couple of steps to save a vCard as a contact. Viewing the vCard on the phone is not the same as saving it. The option to save should be visible on all models.