Getting Started with Evergiving
This guide introduces the common interface concepts that you will find throughout the system. It is intended to help you understand how to navigate around and find the information you need.
Please note that detailed guides to some of the main areas of functionality referenced below can be found elsewhere on this site.
The Dashboard
When you login to the system the first screen you will see is the Dashboard. This provides a graphical summary of key application and account metrics.

Main Menu and Navigation
The main menu on the left of the application window lists the major areas of functionality in the system, with an icon next to each item related to the topic.

When you click an item on the main menu, the system will show any available information related to that topic for the currently selected account.
Where appropriate, the menu will expand to show options associated with the area of the system you have selected.
Notice that your place in the menu is always highlighted.
In the example below we can see that Call Center section has been selected in the menu, and the Call Lists screen is open:

In this example, the Call Center Offices screen is showing:

Notice that the title bar at the top of the application screen is updated to show which part of the system you are in.
Searching and Filtering
Sometimes when you open a screen there will be no information immediately available that is related to your selected account.
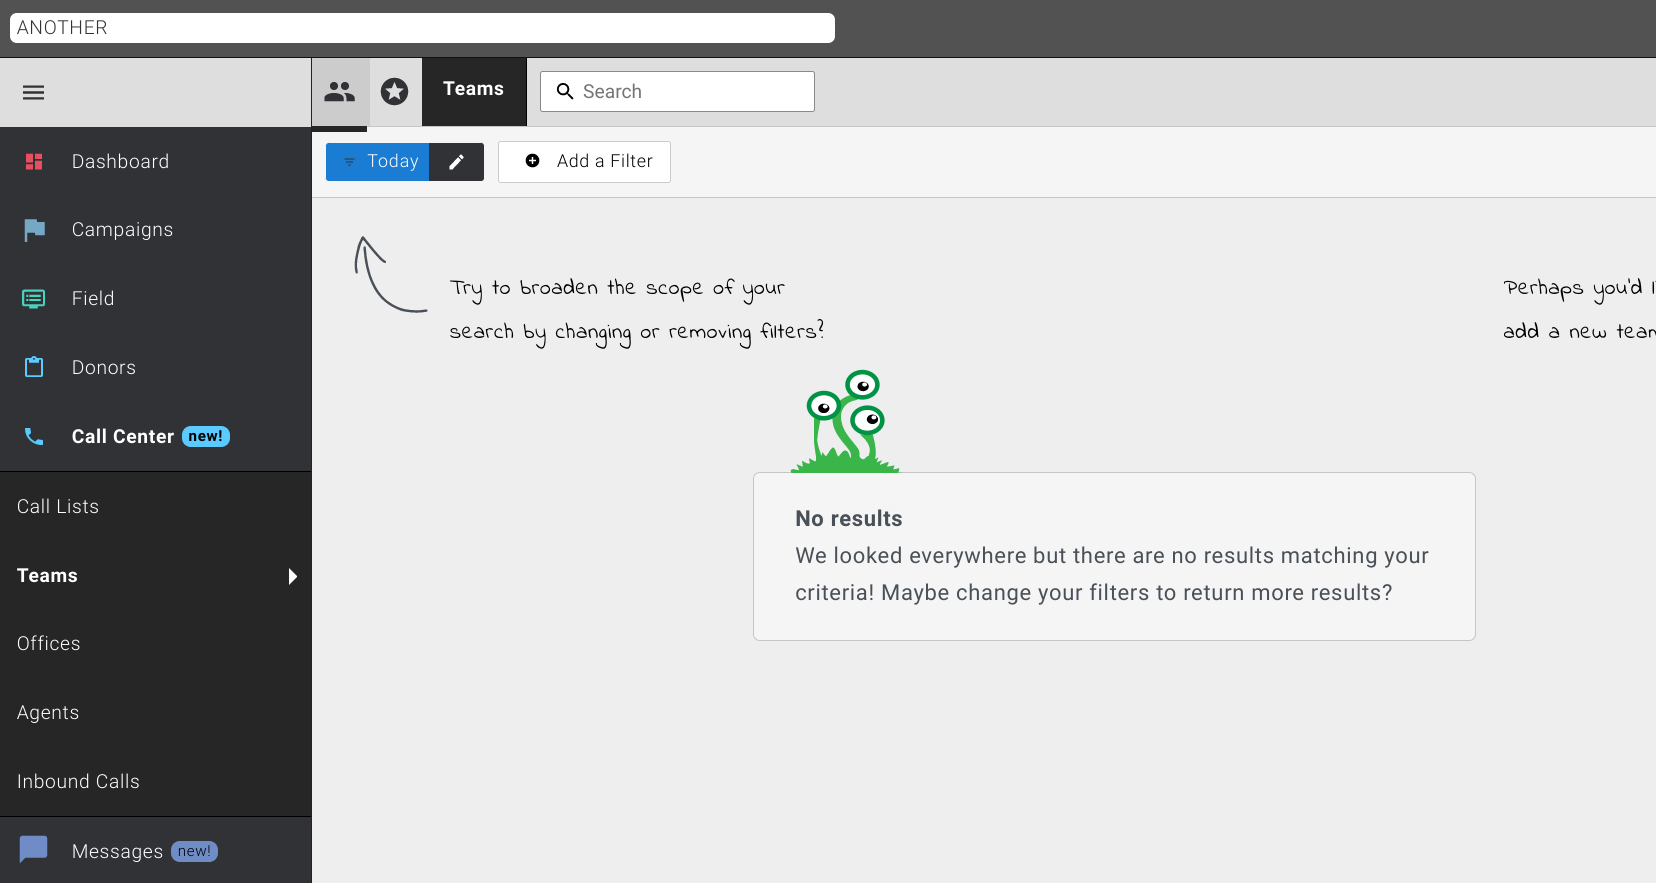
In the example below you will see that the Call Center Teams screen is open but with no results. You will see a screen similar to this whenever the system has no results to show for the currently selected account and search criteria.
In this particular example, the reason that the Teams screen is showing no data is that the view defaults to displaying information for today only.

By Clicking on the Today button at the top of the results page you can change the date range that the system will use to fetch results.
Some fields will appear where you can enter a search condition:

Notice that you can select options from both fields:

The options in the second field will change to complement what you have selected in the first field:

When required you can add additional condition lines to your search using the ‘+’ button:

Press the Close button at the end of a line if you want to remove it:
When you are happy with all of your search conditions, click Apply. The system will combine all of the conditions you have defined and update the screen to display the information that matches.
In this example this search condition is set to display teams for the current month:

When the Apply button is clicked, after a short delay the system will display any information that matches your criteria;

Filtering Results
Where you see an Add a Filter button, you can use it refine the information that is currently displayed:

Some dropdown fields will appear where you can define your filter:


Search Box
The search field at the top of the screen can be used to quickly find specific information on a page.

In this example, ‘mark’ has been entered in the search box on the Call Lists page:

This jumps to the following entry:

Getting Help
Throughout the system, you will see this symbol on the right.

Pressing it will open the application help page, which will provide you with help relating to the part of the system you are in. In the example below you will see the help available on the Call Lists screen:
