Import Leads from a Google Sheet Using Zapier
This guide will show you how to automatically import leads from a Google Sheet into Evergiving using Zapier's integration and webhooks.
Step 1: Sign Up for Zapier
- Sign up for a Zapier account at zapier.com.
Step 2: Create an Evergiving API Token
- Log into Evergiving with admin privileges.
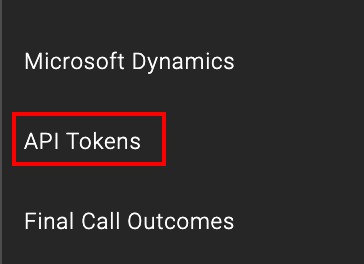
- Go to Account > API Tokens.
- Click Create and assign the token to a specific campaign.
- Save your API token securely for later use.
Example image:

Step 3: Prepare Your Google Sheet
- Set up a Google Sheet with column headings such as:
- Supporter First Name, Supporter Last Name, Supporter Email, Country Code, Campaign Name, Import Label, External Reference Number.
- Ensure the data meets Evergiving’s lead import standards.
Example table:
| Supporter First Name | Supporter Last Name | Supporter Email | Supporter Country Code | Campaign Name | Import Label | External Reference Number |
|---|---|---|---|---|---|---|
| Homer | Simpson | homer@thesimpsons.com | USA | Zapier Campaign | Zapier Campaign | 2001 |
Step 4: Set Up Google Sheets in Zapier
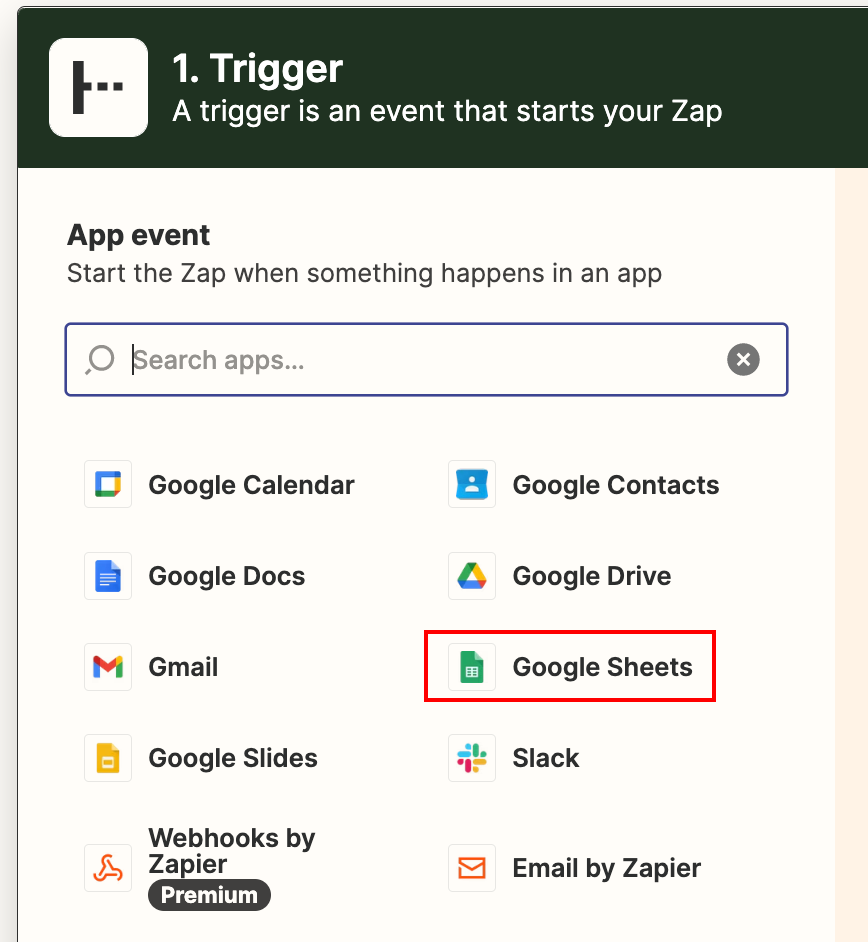
- Select Google Sheets as the app.
- Choose New Spreadsheet Row as the event.
- Connect your Google account and select your sheet and worksheet.
Example image:

Step 5: Set Up Evergiving in Zapier
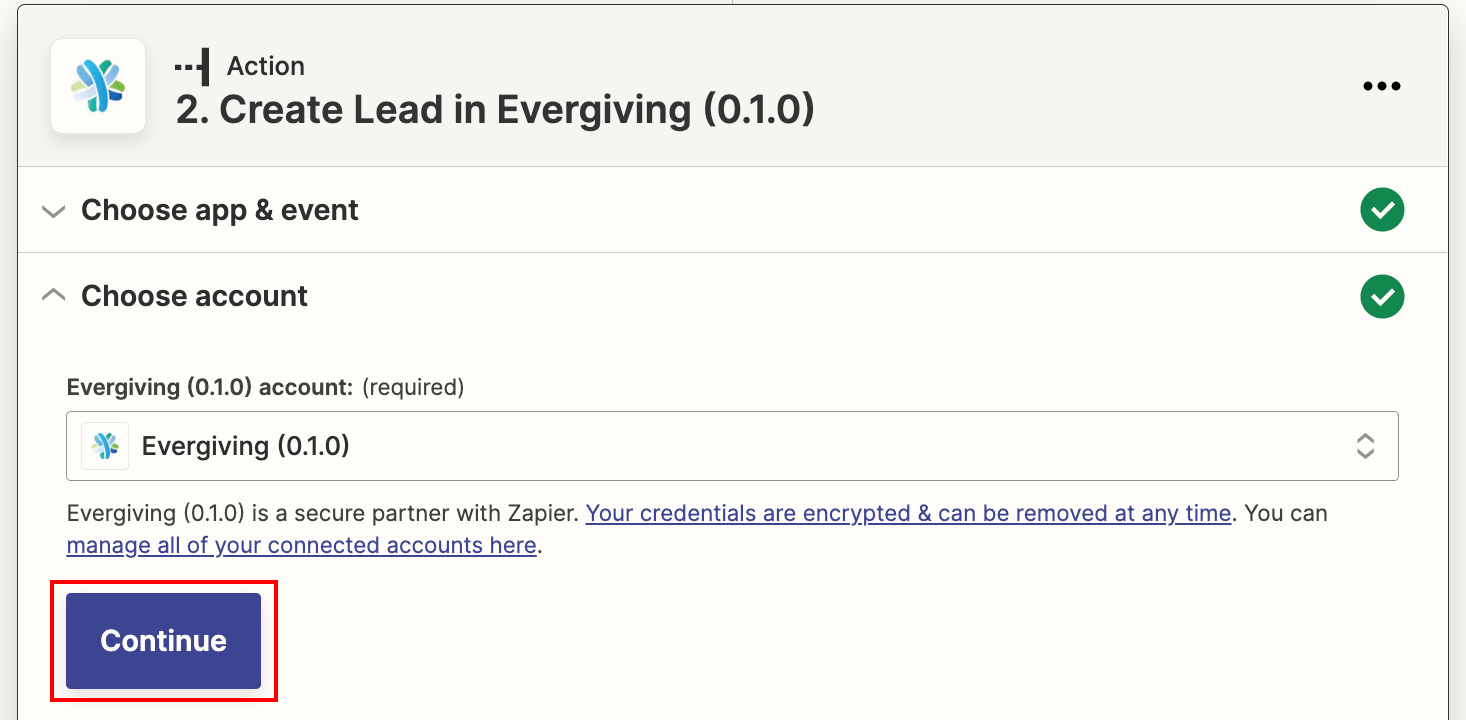
- Select Evergiving as the app and choose Create Lead as the event.
- Map your Google Sheet columns to the required Evergiving fields.
- Provide the Evergiving API token when prompted.
Example image:

Step 6: Configure the Action
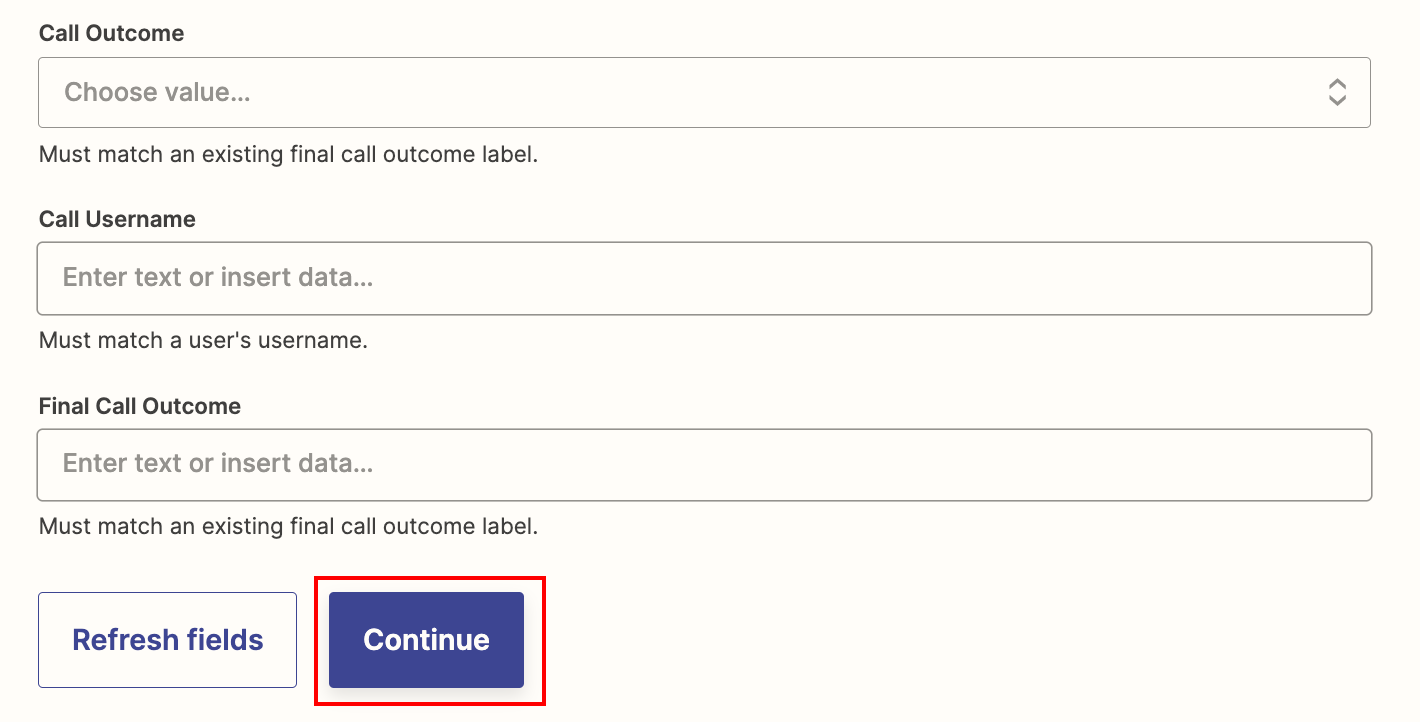
- Map fields such as Supporter Country Code and Import Label.
- Ensure all required fields are filled in.
- Click Continue to proceed.
Example image:

Step 7: Test the Zap
- Test the Zap to ensure everything works.
- Verify that the lead is correctly created in Evergiving.
Example image:

Step 8: Publish and Run the Zap
- Click Publish Zap to make it live.
- Add rows to your Google Sheet and ensure leads are created in Evergiving automatically.