Manually Trigger an Export
Prerequisites
This guide explains how to manually trigger a data export within the system. It assumes that an appropriate export task has already been defined using Export Builder.
Export Action Button
Where the export function is available, you will see this button at the top of the application screen:

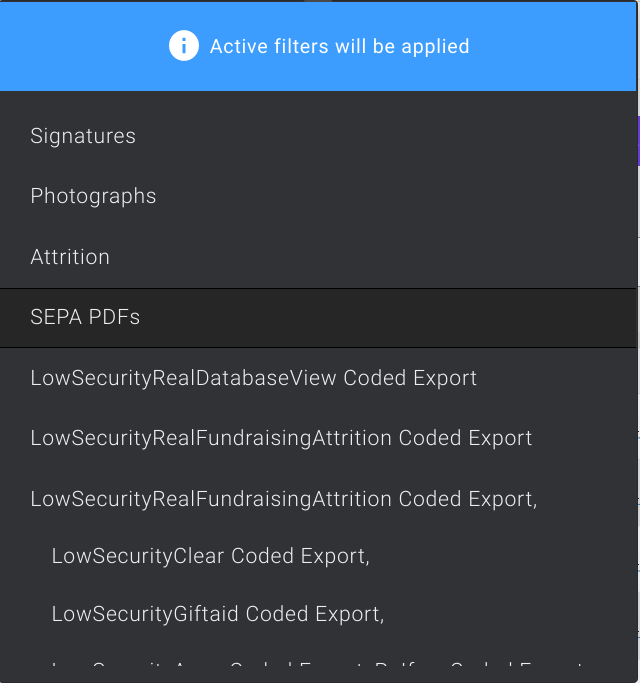
Pressing it will bring up a window containing a list of the export tasks that can be run from your current location within the system.

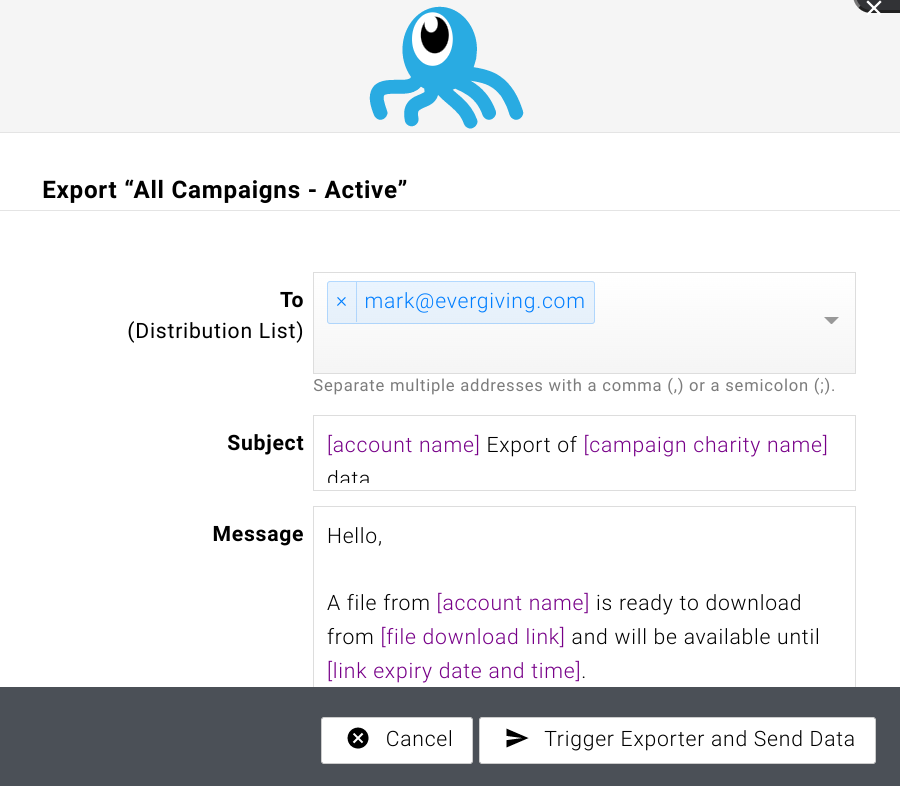
Selecting an export task from the list will bring up a window like this showing details of the email settings defined for your export task. From here you have the option to change the default distribution list and email content before triggering the export:

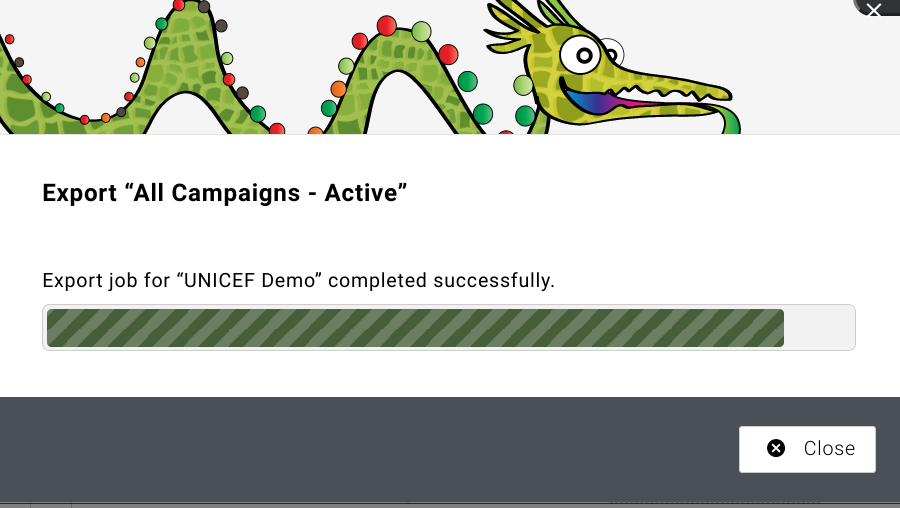
After you trigger the task a window like this will open showing progress as the system performs the export. Once the export has completed and you close the window, an email will be sent to the people specified in the task distribution list containing a link to the results of the export:

Filtering Data For Export
When an export task is triggered manually the system uses the information available in the application window as the source data for the export.
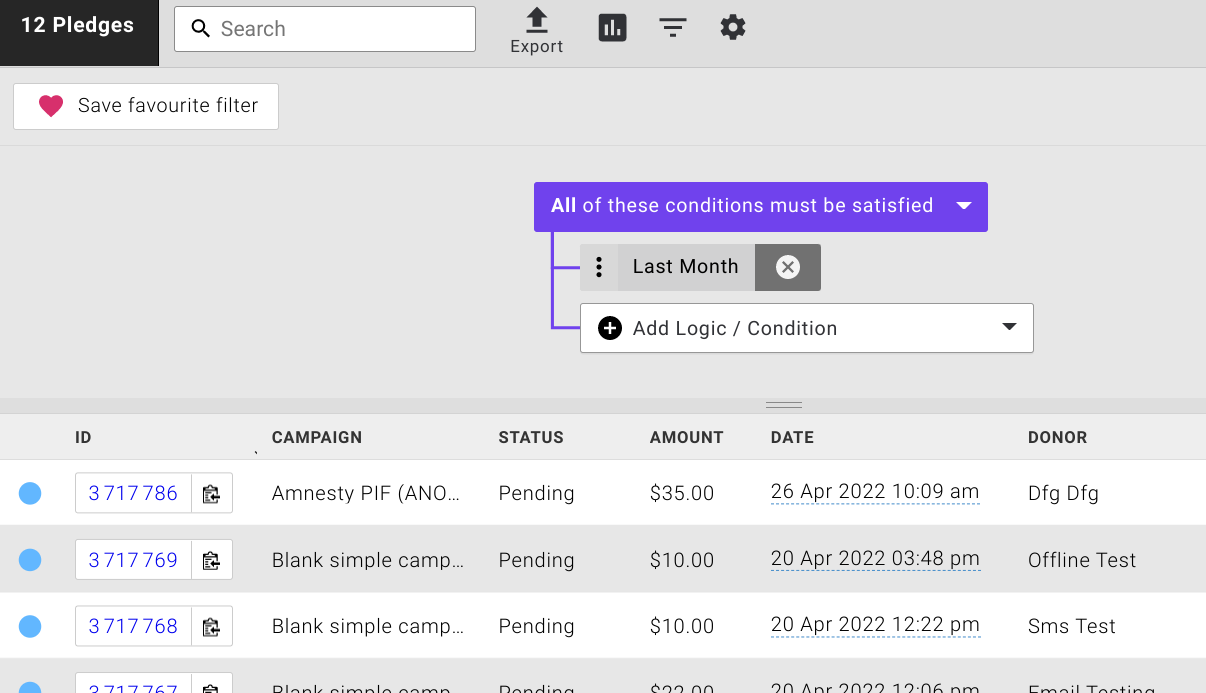
If you only want to export a subset of data you can use the filtering before triggering the export. In the example below, the Pledges screen has been restricted to records that have been created in the last month:

Notice the record count in the left corner of the screen shows that 12 pledges have been selected by the filter. If an export is triggered at this point the process will be restricted to these records.
Please note that the number of rows in your exported data may differ from the record count shown in the application. This is because the selection criteria of the export task may further exclude information from the results.