Receive Facebook Leads Using Zapier
Follow these steps to integrate Facebook Lead Ads with Evergiving using Zapier. This guide will take you through the process of setting up both the trigger and action in Zapier, as well as managing leads within Evergiving.
Step 1: Create a Facebook Lead Ads Zap
-
Sign in to Zapier
Go to the Zaps dashboard at https://zapier.com/app/zaps and click Create Zap. -
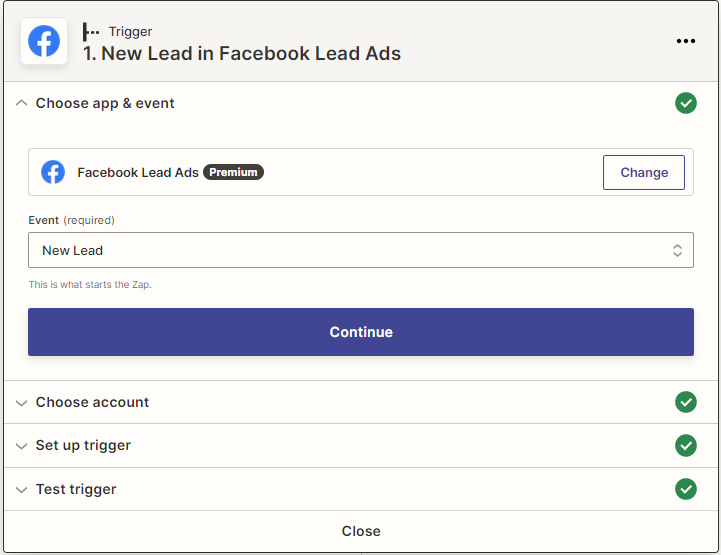
Choose App & Event
- Choose Facebook Lead Ads as the app.
- Select New Lead as the trigger event.
-
Connect Your Facebook Account
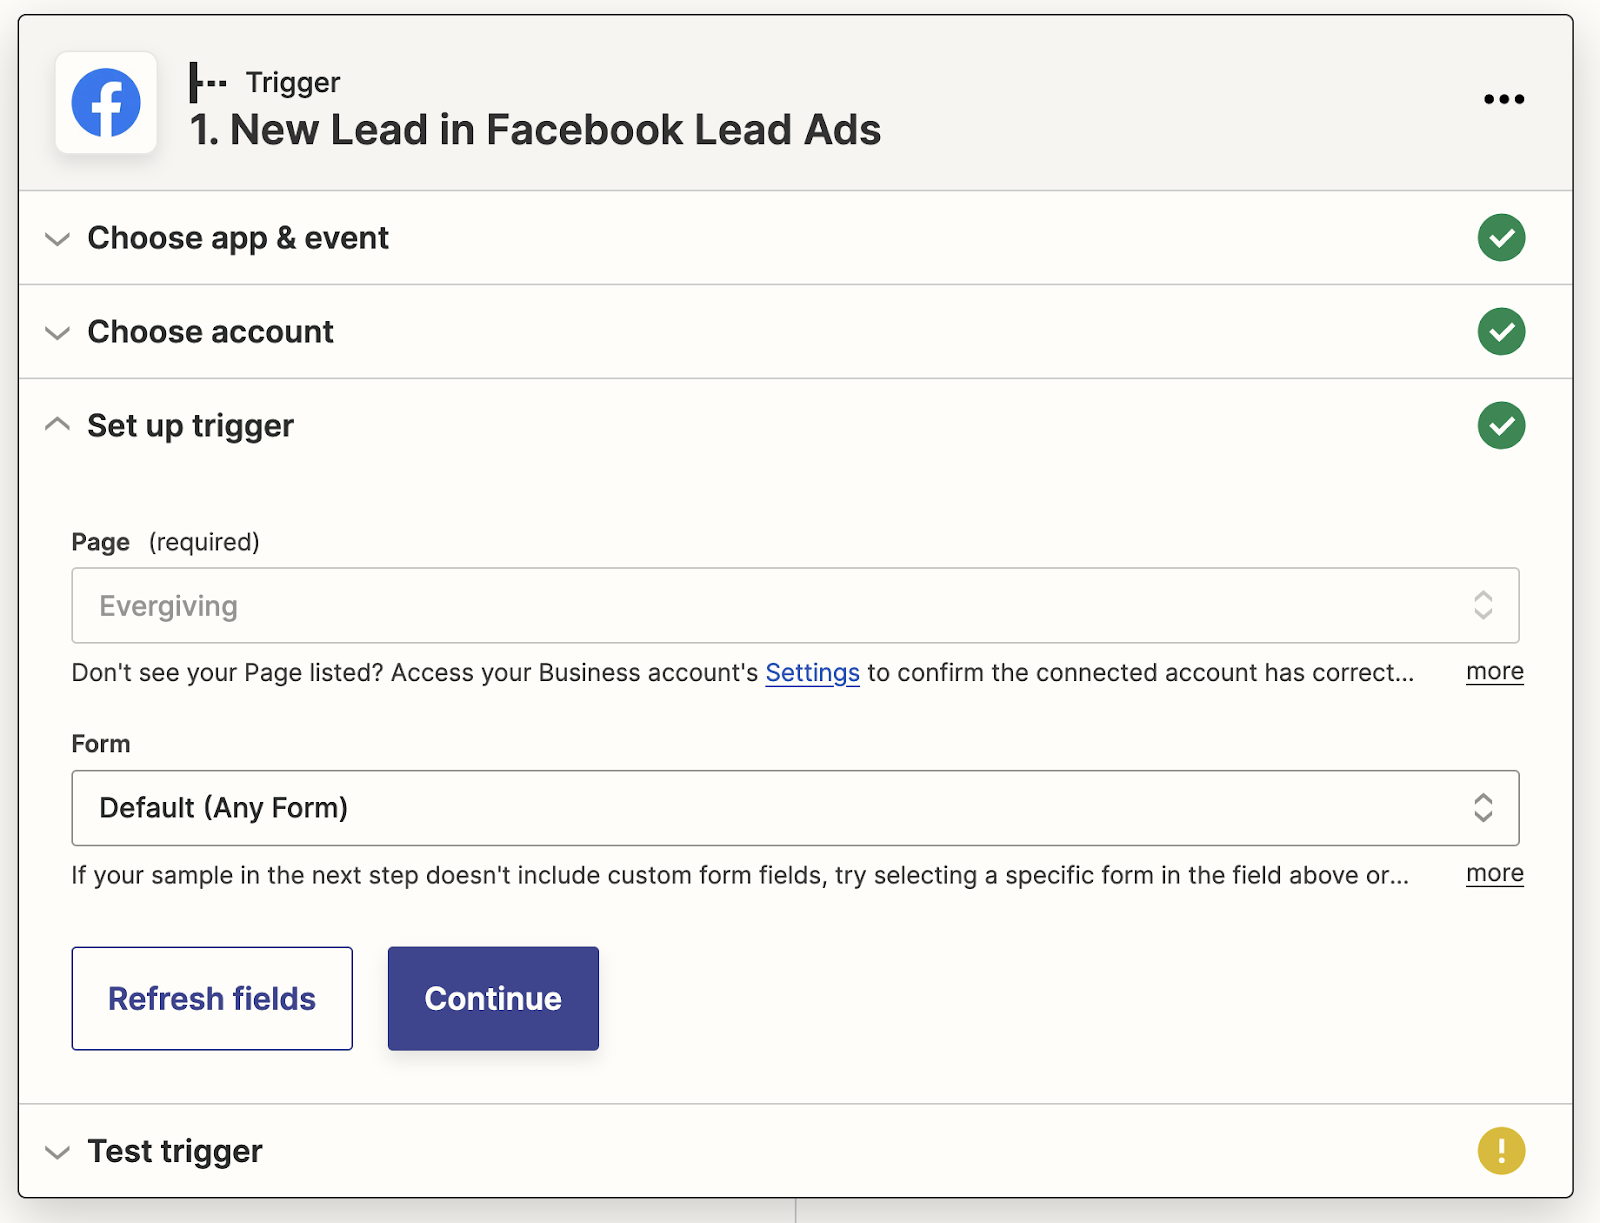
- Choose your Facebook ad account and connect it to Zapier.
- Select the relevant business page and lead form that you want to integrate.
-
Test the Trigger
Zapier will pull a recent lead from the selected form to test the connection. If no recent leads are available, you can create test leads using this Facebook tool.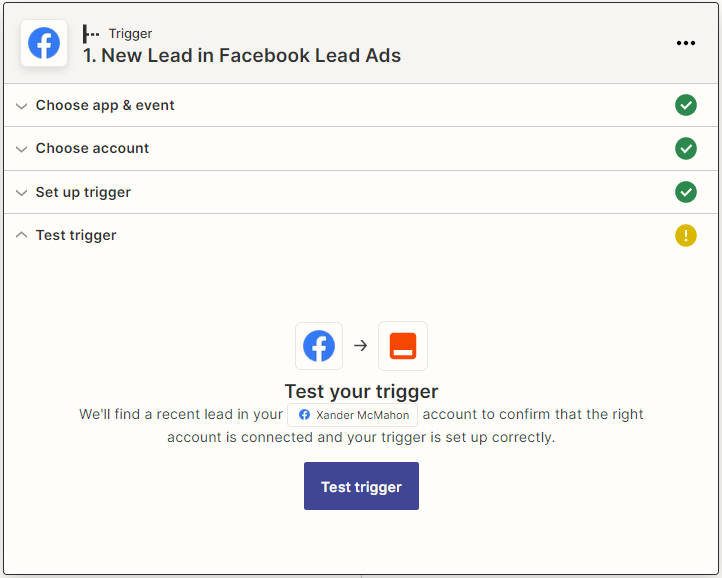
Step 2: Set Up the Webhooks Action in Zapier
-
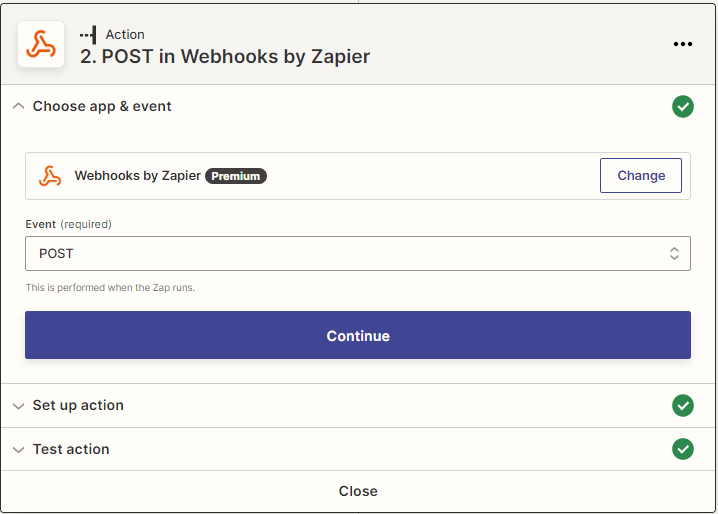
Choose App & Event
- Choose Webhooks by Zapier as the action app.
- Select POST as the event type.
-
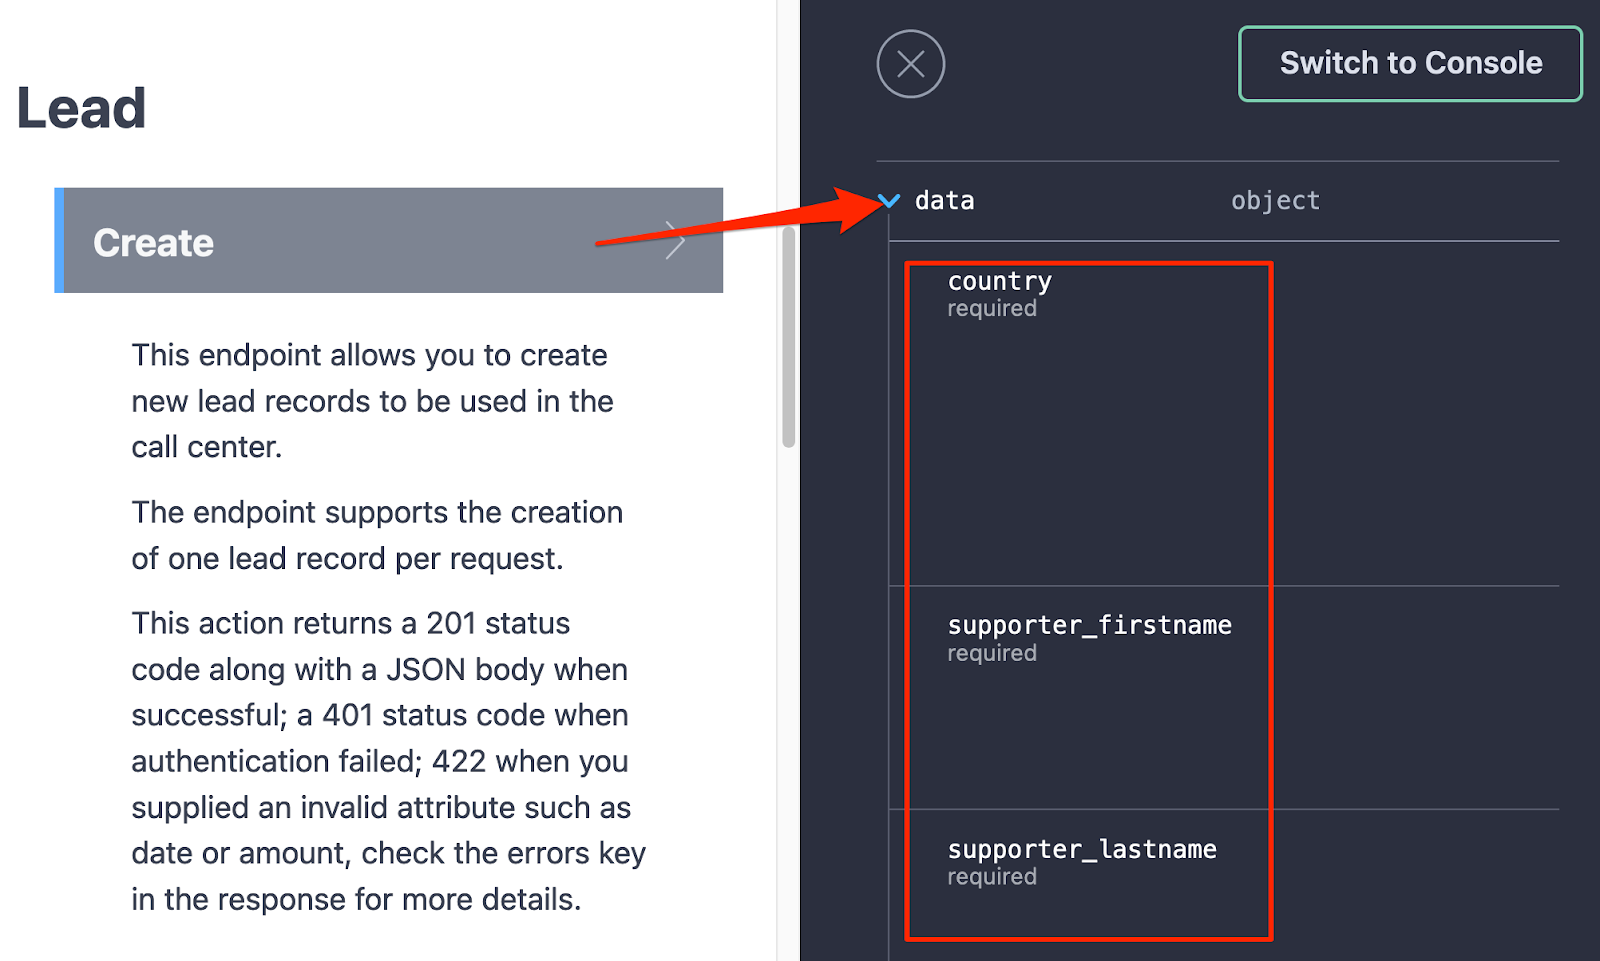
Set Up Action to POST to Evergiving's API
- URL: Enter
https://waysact.me/api/v4/leads. - Payload Type: Choose
json.
- URL: Enter
-
Map Data Fields
- Add the data fields that you wish to send to Evergiving by mapping the fields from Facebook Lead Ads to Evergiving's API. Ensure you prefix the Evergiving field names with
data__. For example,data__supporter_firstname.
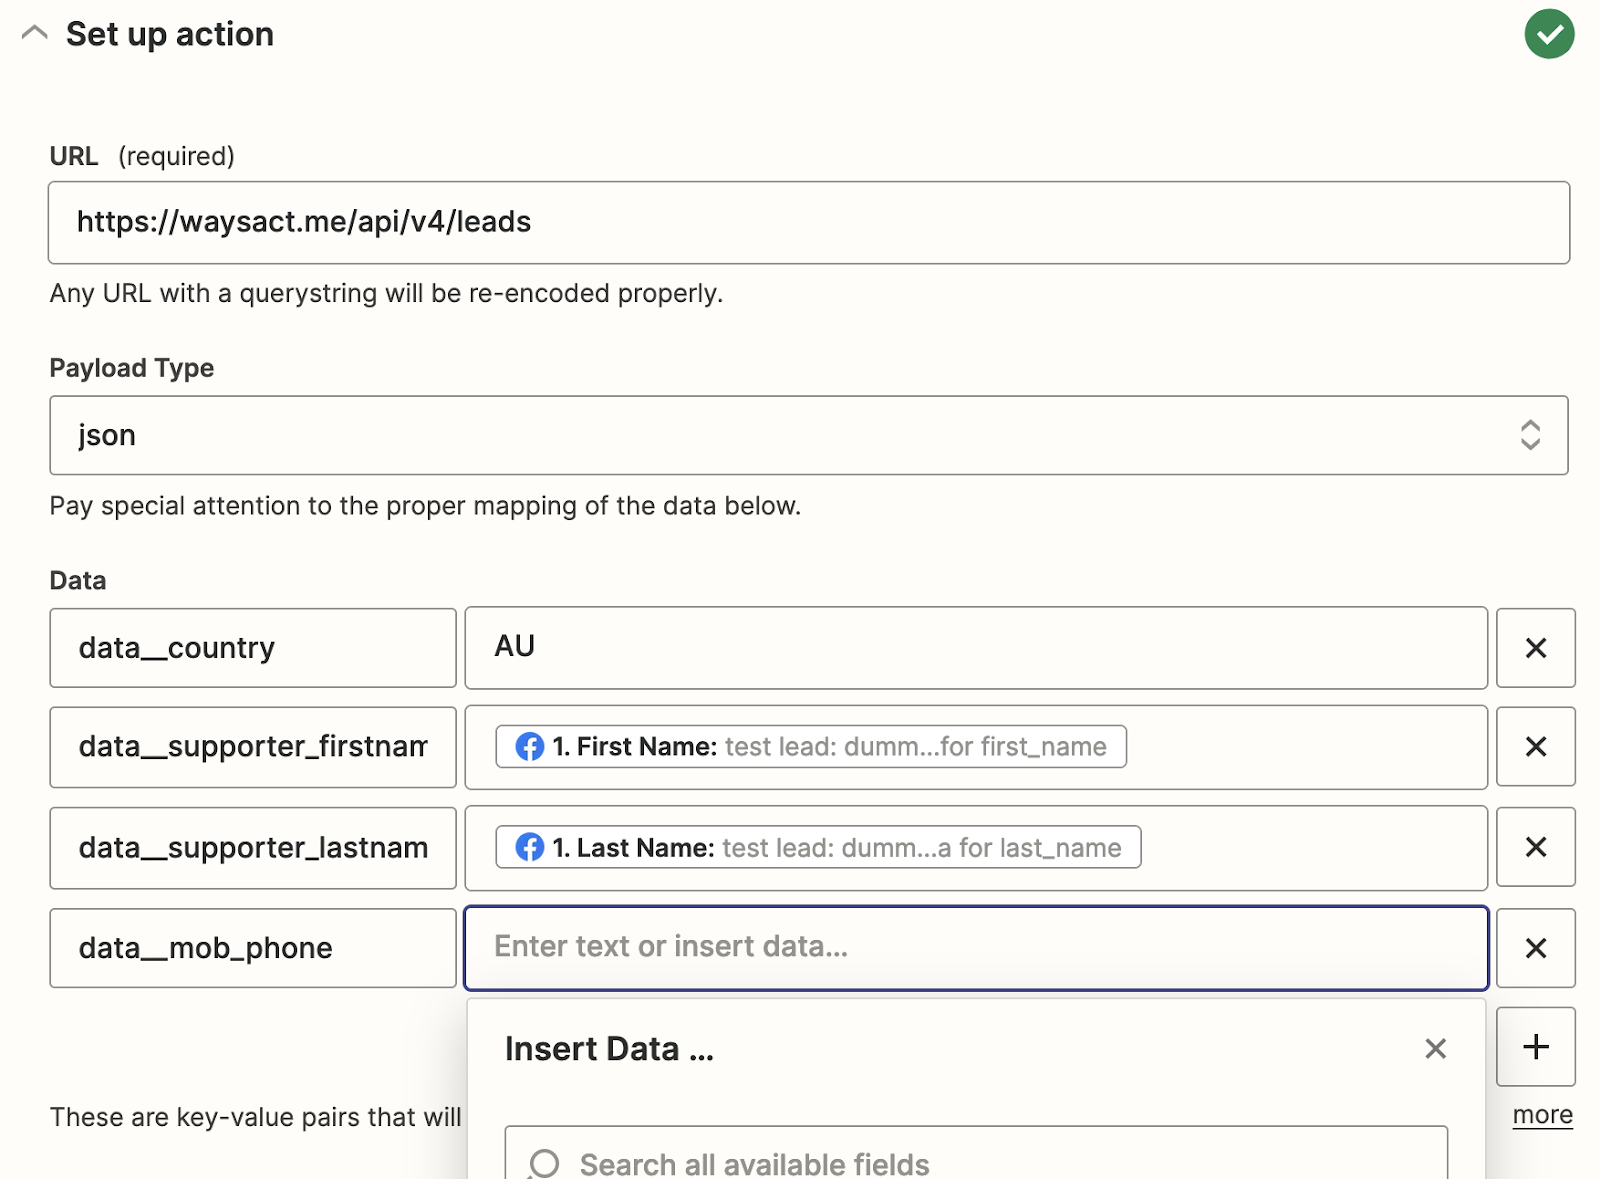
- Add the data fields that you wish to send to Evergiving by mapping the fields from Facebook Lead Ads to Evergiving's API. Ensure you prefix the Evergiving field names with
-
Set Headers
- Add the header
Authorizationand set it toBearer [your Evergiving API token]. You can generate an API token in Evergiving by navigating to Account > API Tokens.

- Add the header
-
Test Action
Run a test to verify that the data is correctly sent to Evergiving's API. If successful, the response will confirm that the lead was created.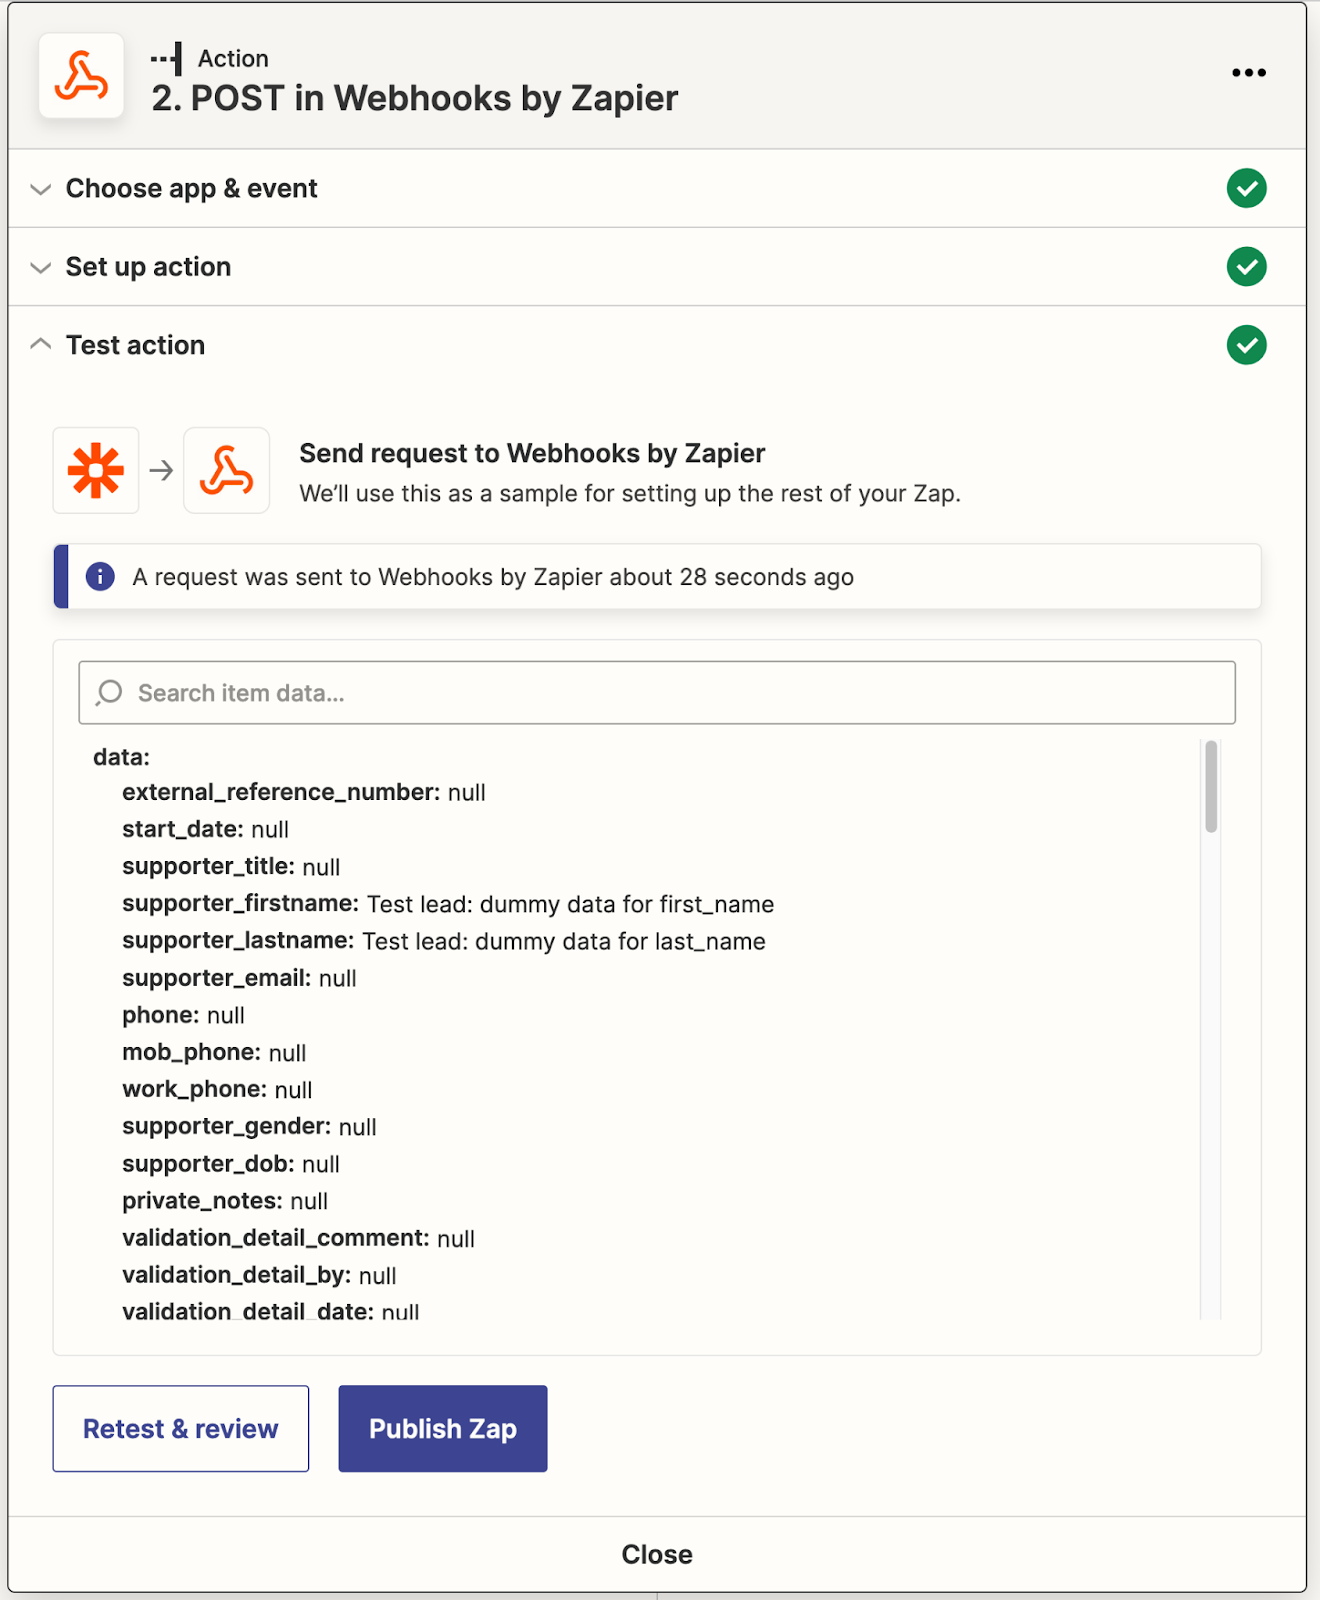
Step 3: Publish & Turn On the Zap
-
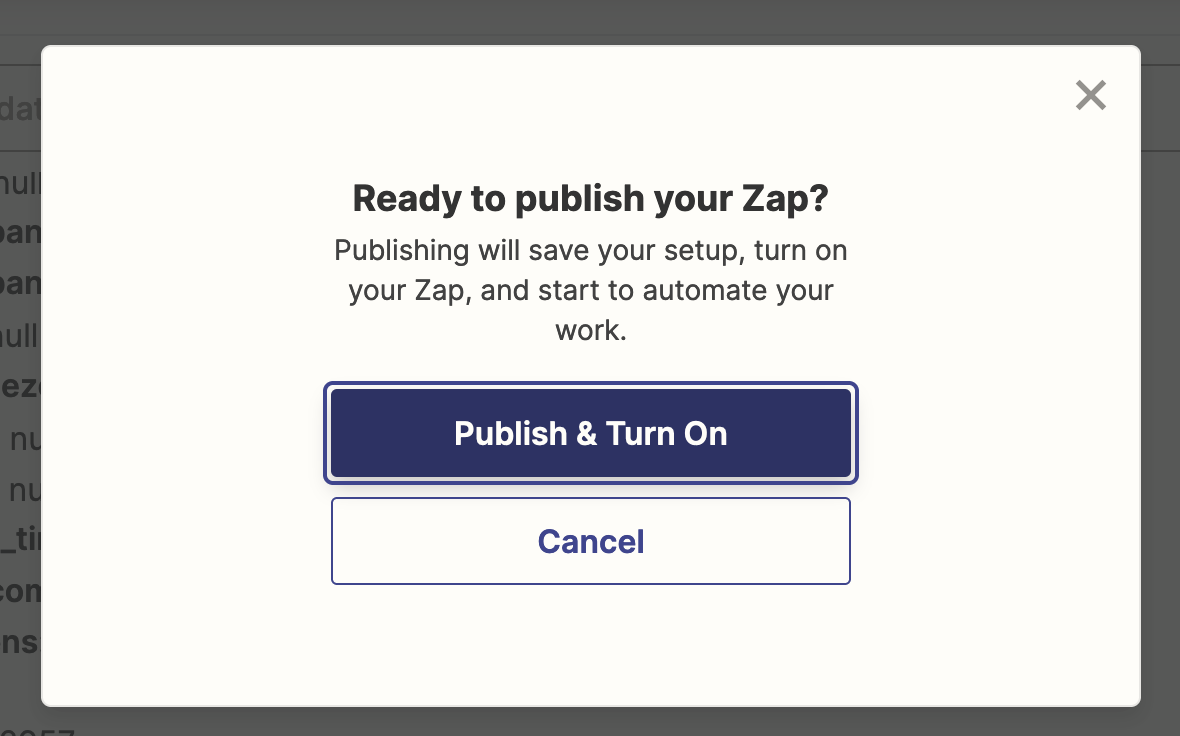
Once you have confirmed that the action is working correctly, click Publish Zap and then select Publish & Turn On.
Step 4: Configure Lead Management in Evergiving
-
View Leads
Once the Zap is active, leads submitted via Facebook Lead Ads will automatically appear under Donors > Lead Management in Evergiving.
-
Create a Call List
Create a call list under Call Center > Call Lists to manage how leads are distributed to your team.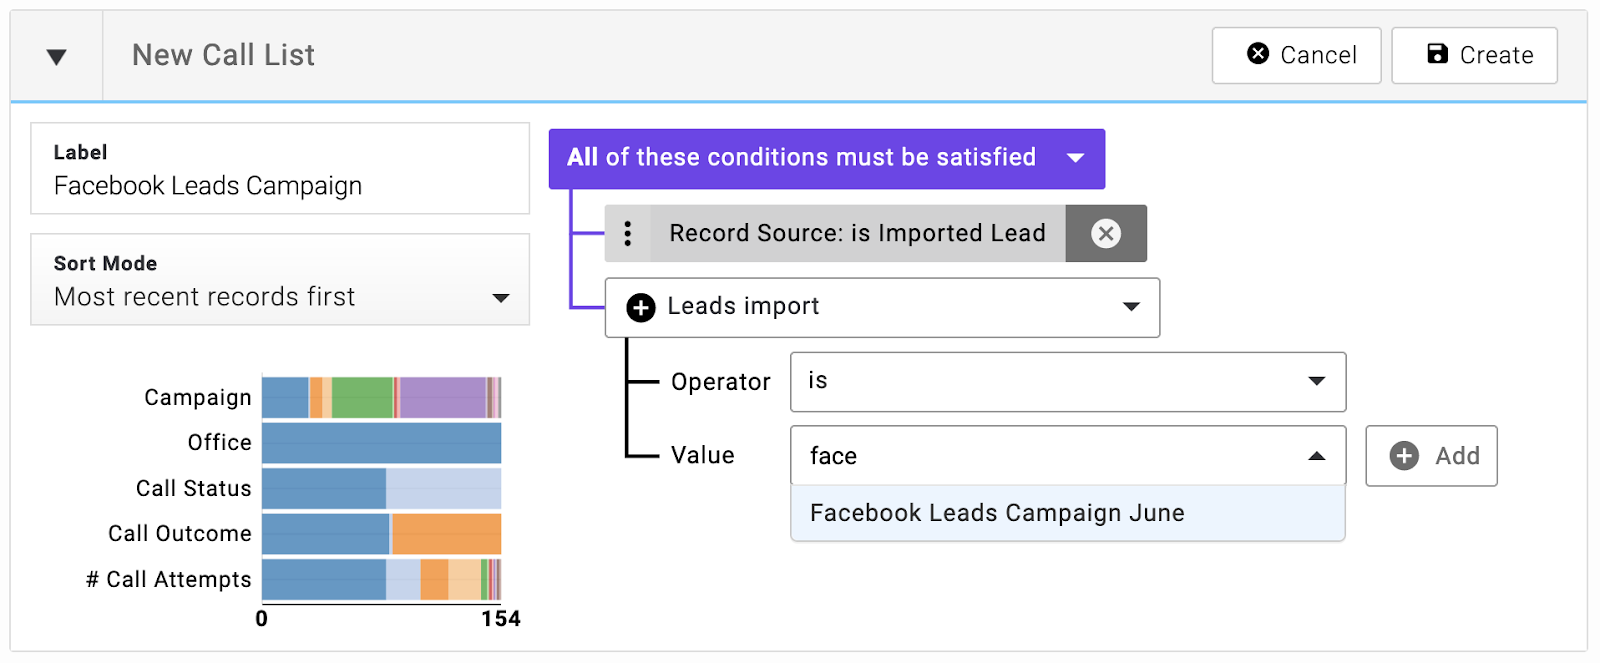
-
Assign a Team and Set Tiers
If you have a high volume of leads, assign the Facebook Lead Ad call list to a high-priority tier (Tier 1) so that the leads are assigned to agents quickly.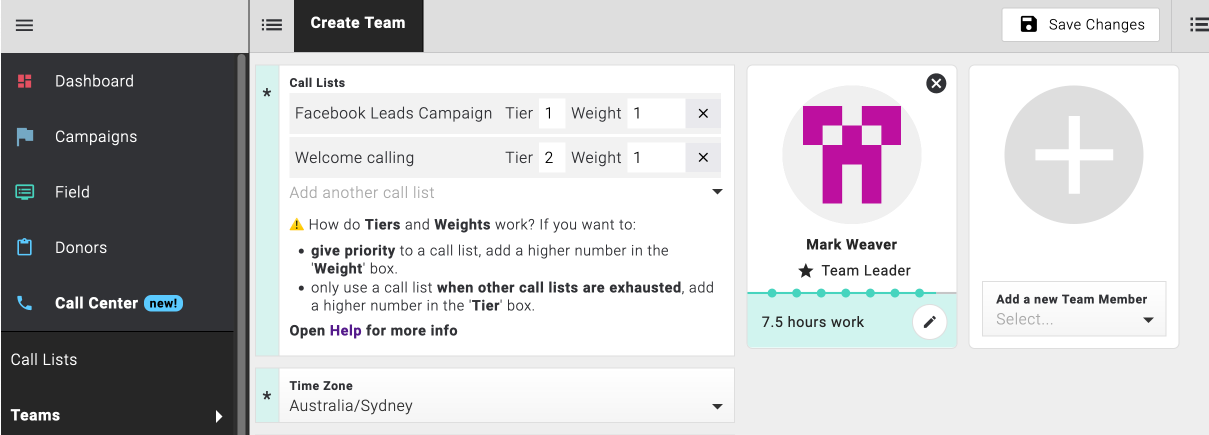
Additional Notes:
- You can set up multiple Zaps for different Facebook Lead Ad campaigns and manage them within Evergiving using lead import labels, call lists, and team configurations. Learn more about Tiers and Weights.